The Self-Registration Method
Overview
The self-registration method allows anonymous users on the web to register themselves as a contact on your site. This method is generally used to provide self-service, B2C capabilities in the account creation process, allowing a level of autonomy for new users looking to shop, order, buy, and manage an account on your site. This process may also take a load off of your administrative contact and user management burden, as an administrator is not required to step in during the self-registration process.
Method
For a contact to register themselves as a new contact/user, they can choose the "Create a New Account" option on the login page of your Kore Commerce site. After selecting this option, they will be sent to the New Account page where they will be prompted to provide account information.
The image below shows what the New Account page will look like for a customer navigating through the self-registration process:
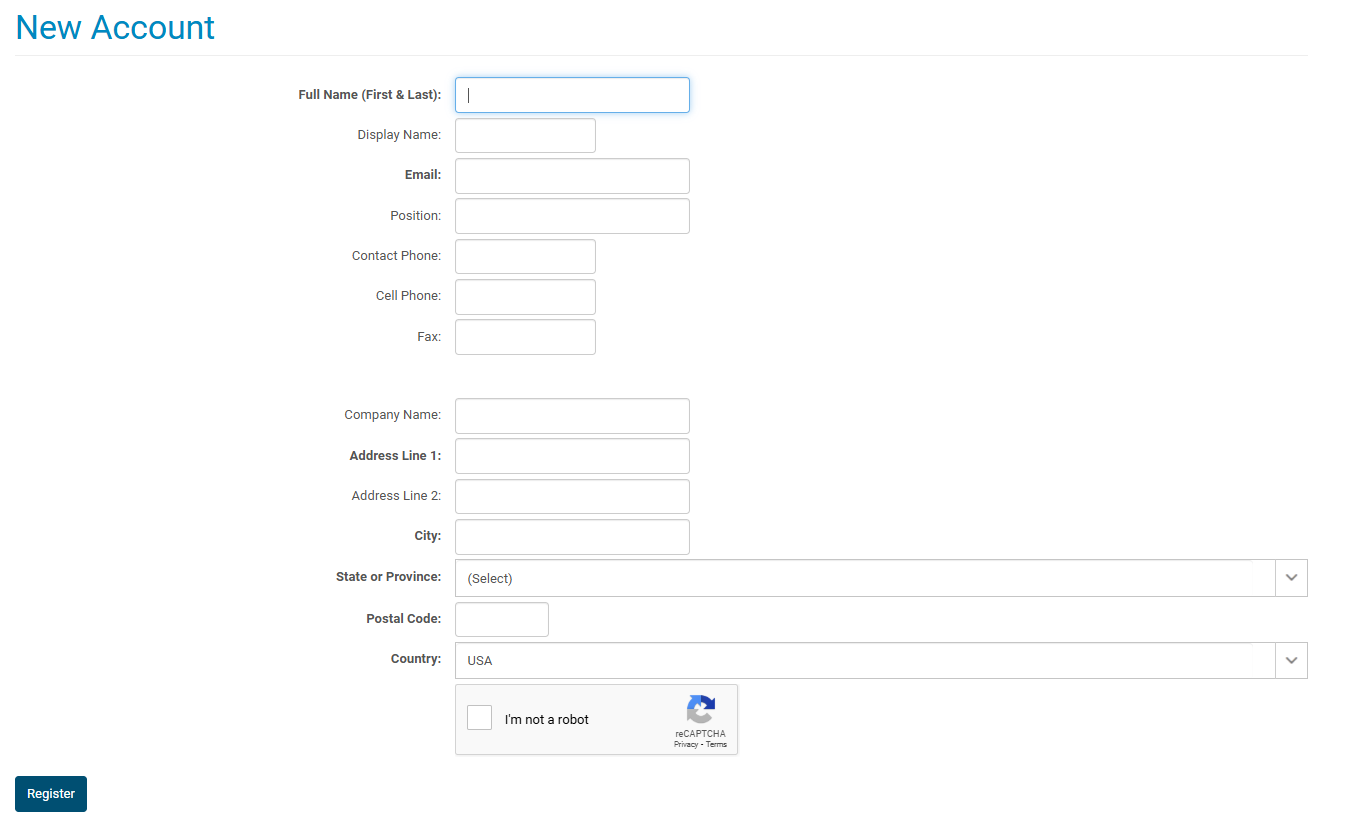
Because this method is generally used for B2C purposes, a self-registered contact will not have to be linked to a business. However, their account will require an email to gain user access. Their name and primary address are also required.
The tables below lists the fields and commands on the New Account page:
| Self-Registration Fields | Description |
| Full Name (First & Last) |
Unsurprisingly, this is where a contact enters their first and last name. This field is required. |
| Display Name | This is the name that will can be used as an alternate pseudonym for a contact. This name will be used on emails and notifications. |
|
The email the contact will use for their account is entered into this field. This field is required. |
|
| Position |
A contact's job position (i.e. warehouse manager) in their company can be entered here. |
| Contact Phone | A contact can enter their phone number here (landline, company phone, etc.) This can give an alternate method of messaging with a contact (aside from email). |
| Cell Phone | A contact can specify their cell-phone number here. Again, this can provide an alternate method of messaging with a contact. |
| Fax | If a contact still happens to use fax and wants to enter their fax number, they can do so in this field. |
| Company Name | If a contact would like to add information about their company, they can add their company name here. |
| Address Line 1 |
This is the primary location of the contact. It can either be a contact's personal address, their company address, or the primary desired location where a customer will send orders. This field is required. |
| Address Line 2 | This is alternate location that a contact can add as necessary. If a contact is wants multiple locations from which to order, they may add a second location in this field. |
| City |
This is the city in which the contact's primary address (Address Line 1) is located. This is important for ordering and shipments. This field is required. |
| State or Province |
This is the state or province in which the contact's primary address (Address Line 1) is located. This is important for ordering and shipments. This field is required. |
| Postal Code |
This is the postal code in which the contact's primary address (Address Line 1) is located. This is important for ordering and shipments. This field is required. |
| Country |
This is the country in which a contact's primary address (Address Line 1) is located. If you haven't guessed, this is important for ordering and shipments. This field is required. |
| Commands | Description |
|
Below the fields, there is a CAPTCHA. This is used to ensure that a real human (and not one of those pesky bots) are entering your site. This will add another level of security, which is important in the self registration process. After clicking on the CAPTCHA and being confirmed as a human, you will be able to register your account. |

|
Pressing the register button will submit a contact's self-registration form. If any of the required fields on the New Account page have not been filled out or the CAPTCHA has not been completed, an error message will appear. This message will list each required field that has not been fulfilled or will say that the site could not verify that you are not a robot (failed CAPTCHA). |
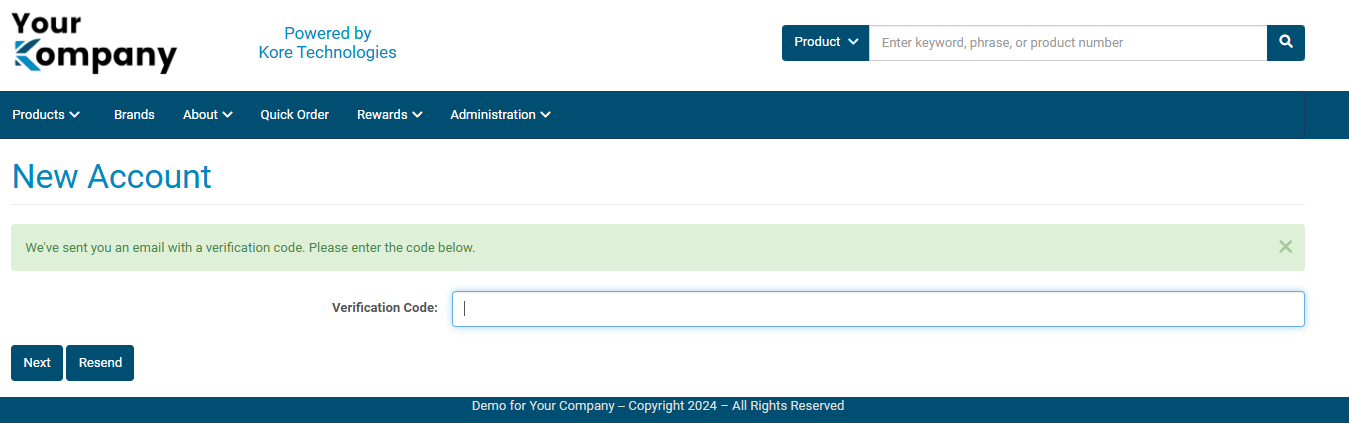
After filling out the fields and successfully pressing the Register button, a new contact will be taken to a new page with a verification field. A message will appear at the top of this page telling the contact that an email with a temporary verification code has been sent to their inbox.
This page will look like the image below:
The email a new contact receives may look like the image below:
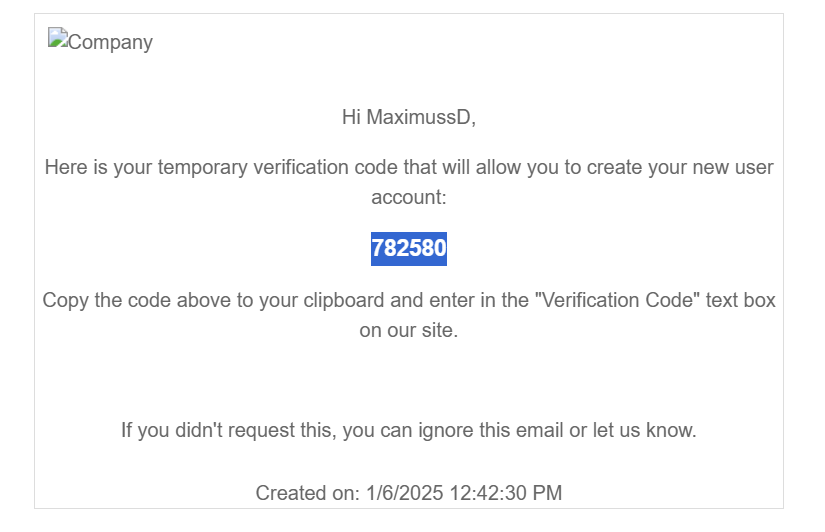
If a new contact did not receive an email, their code expired, or they somehow lost the email and passcode, they can press the Resend button on the New Account page to generate a new email. Should a contact be unable to find an email in their inbox, they may want to check their spam/junk mail folder.
Finally, after entering the temporary passcode from their email, the contact will be taken to a Set Password page. This page is shown in the image below:
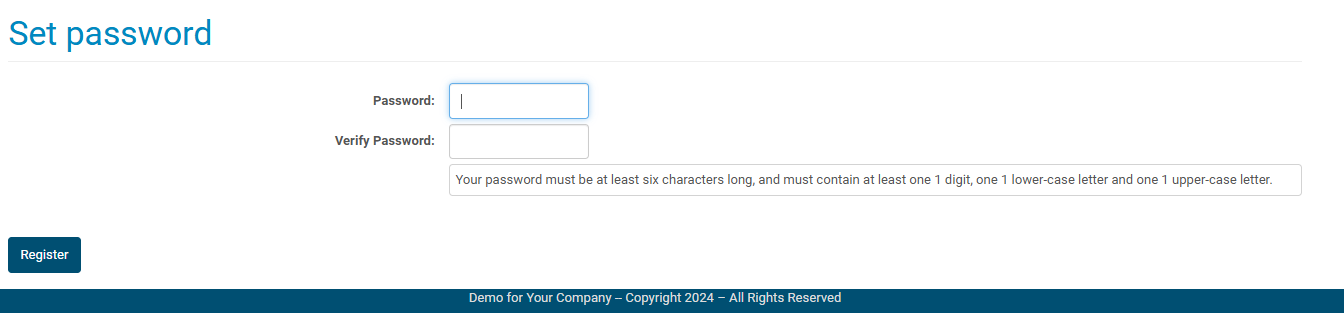
Here, your new contact can enter their password in the password field, re-enter it into the verification field, and press the Register button. After this is done, the new contact should be logged into your site, and voila! A new, self-registered contact has now been added to your Kore Commerce site.
If you wish to change to make changes to contact's information, permissions or password as an administrator, you can search for them via the Contact Listing page, then click on their account and make the relevant changes. Learn more about this in the Finding and Editing Contacts section of this guide.
Troubleshooting and Other Relevant Information
-
If a self-registered contact does not receive an email requesting to set up their username and password, there are a number of ways in which an administrator can help them set up their account. These are listed on the Changing Contact Passwords page.
-
Should you wish to change the email prompt that a new contact receives when setting up their account, you can edit the new account notification template page. To learn how to do this, please visit the Notification Listing section of this guide.
-
If you'd like to block certain contacts from accessing your site, you can do so by removing their user's web access and/or deleting their account. See how to do this on the Deleting and Blocking Contacts page of this guide.
Related Topics